Beginner Tutorial: Install and Setup Photopia for Rhino
This tutorial will show how to install and setup Photopia for Rhino.
Skill Level
Beginner
Downloads
none
1. Download and Install Rhino
You’ll first need to ensure Rhino 6, Rhino 7 or Rhino 8 is installed on your computer.
If you don't have Rhino installed, you can download either an evaluation version for 90 days or the full version if you already have a Rhino license.
Tip : Use Rhino's Cloud Zoo
We recommend using Rhino's Cloud Zoo for licensing since it will behave similarly to your MyPhotopia license, allowing multiple people and computers to access the same Rhino and Photopia licenses.
Read more on Rhino's Website2. Download Photopia for Rhino
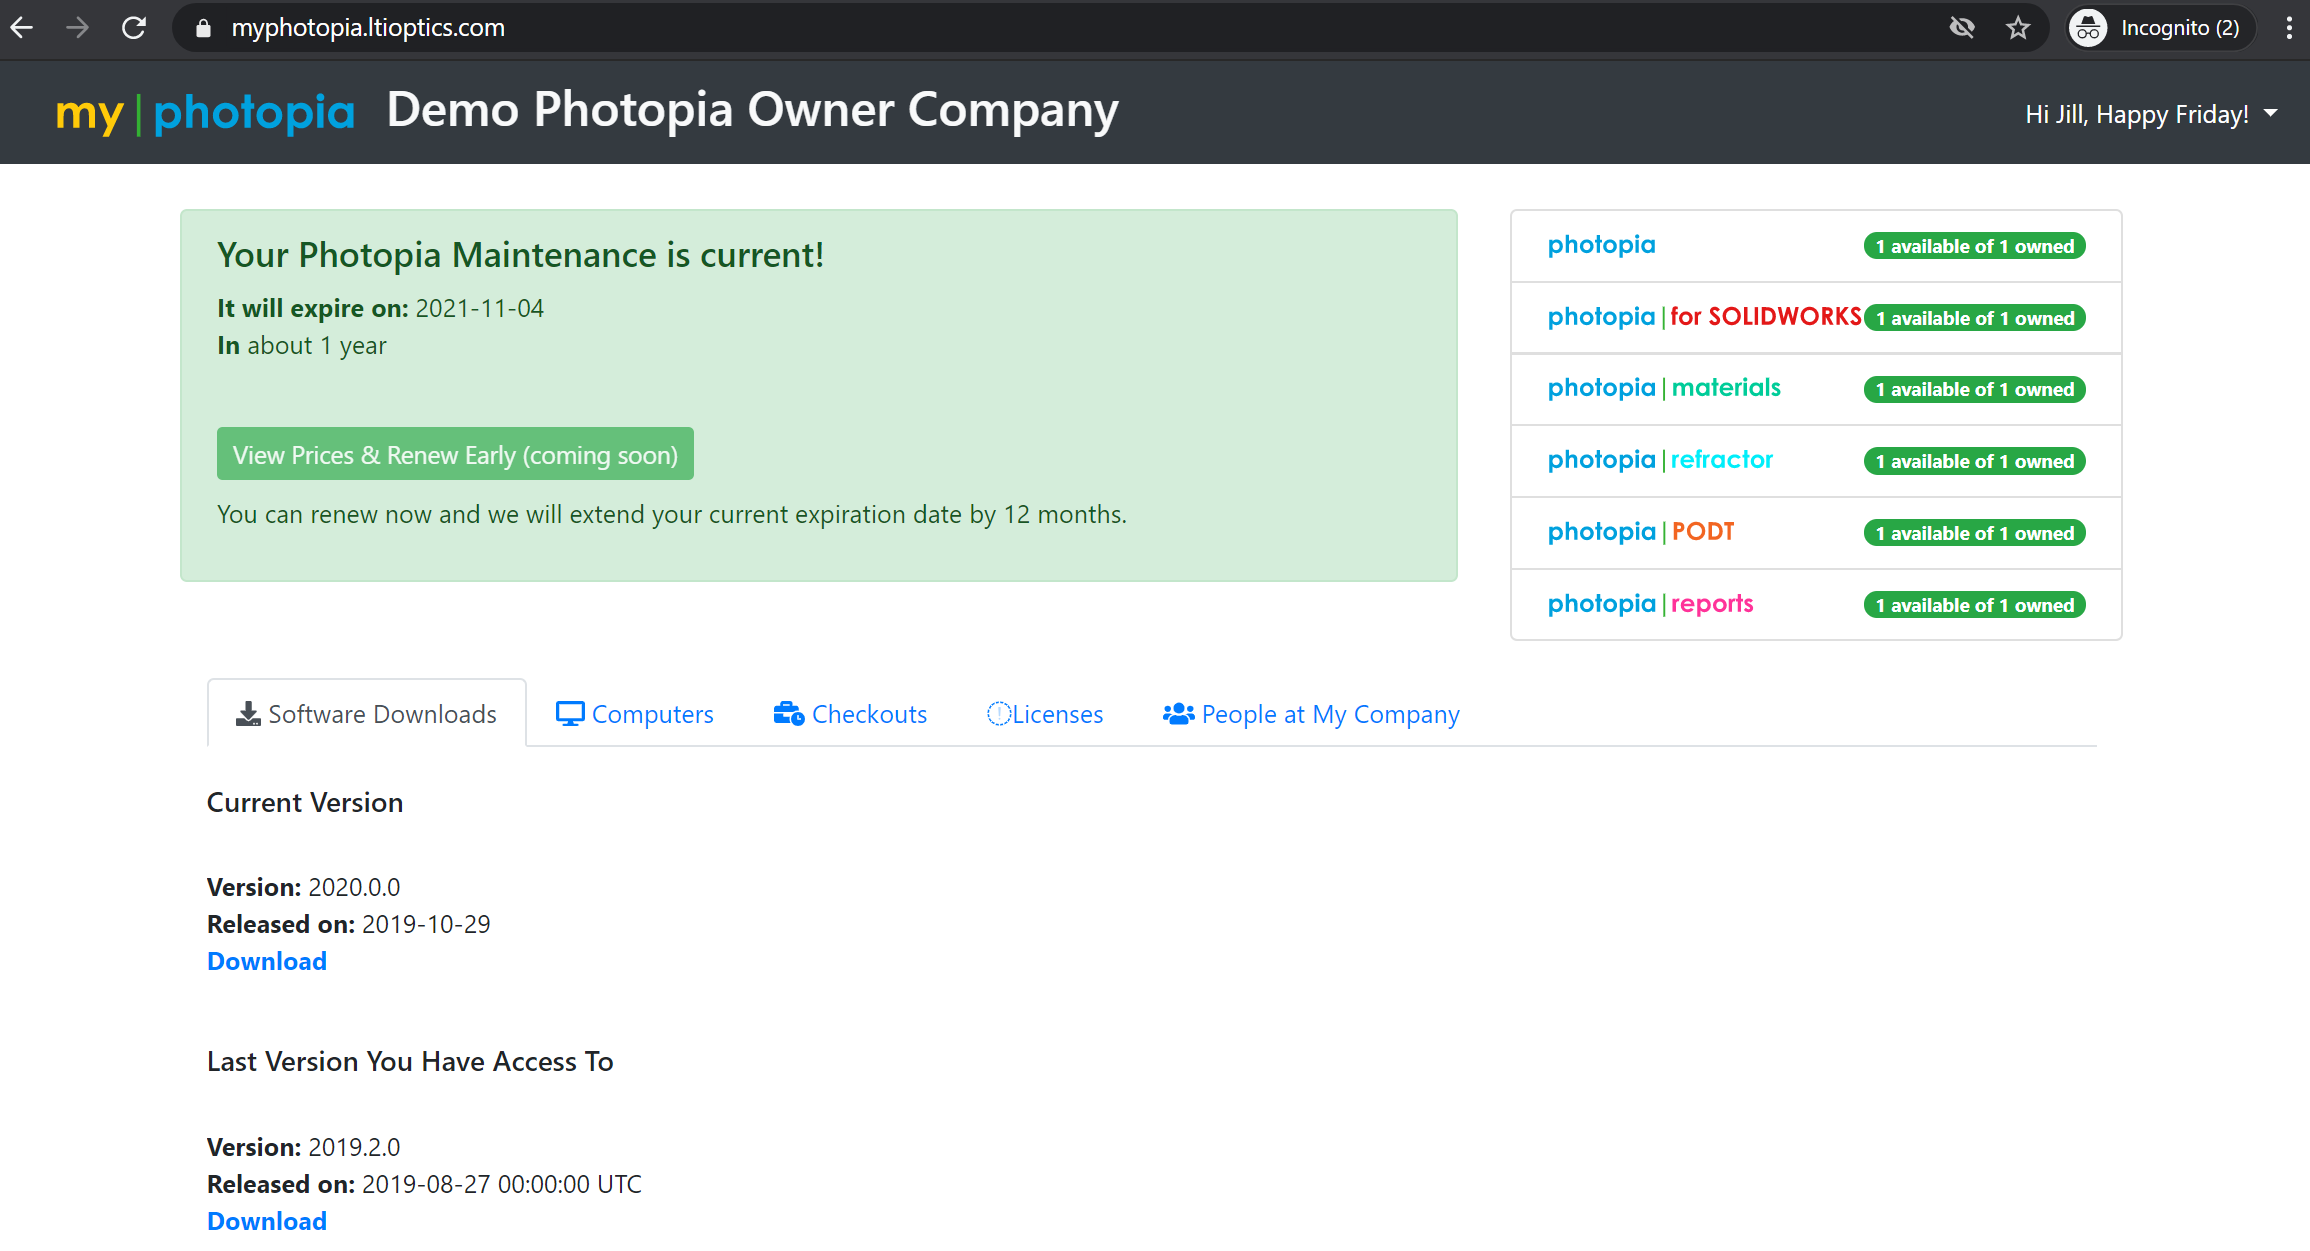
You'll log in to your ![]() account in order to download the Photopia for Rhino installer.
account in order to download the Photopia for Rhino installer.
Under Software Downloads, download the Current Version.
Tip : Your MyPhotopia Page
Your MyPhotopia webpage is where you can always do the following:
- Download the most current version to any computer
- View your current license usage
- Renew maintenance
- Download any custom installations or templates
3. Install Photopia for Rhino
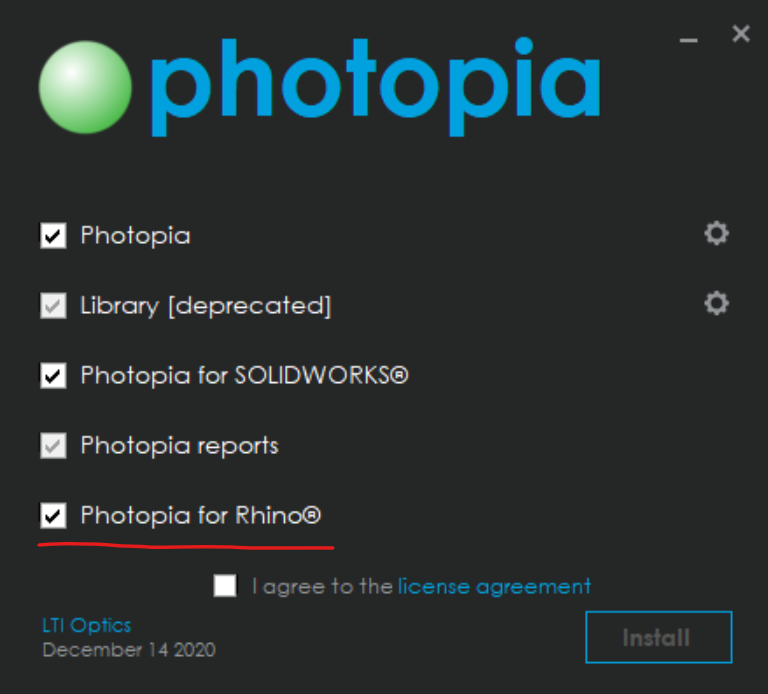
Run the installer you downloaded, selecting Photopia for Rhino to install Photopia for Rhino.
Tip : Other Software
If you use Solidworks or standalone Photopia, you can also install the latest versions of these at this time.
3a. Load Photopia Plugin for Rhino 8
For Rhino 8, you will need to manually load the Photopia plugin the first time.
Choose Tools > Options from the main menu in Rhino.
Scroll down to find "Plug-ins" on the left column and select it.
At the bottom of the middle column, click the "Install..." button.
Browse to the "C:\Program Files\LTI Optics\Photopia for Rhino 8" folder and choose Photopia.rhp.
4. Access your Photopia License
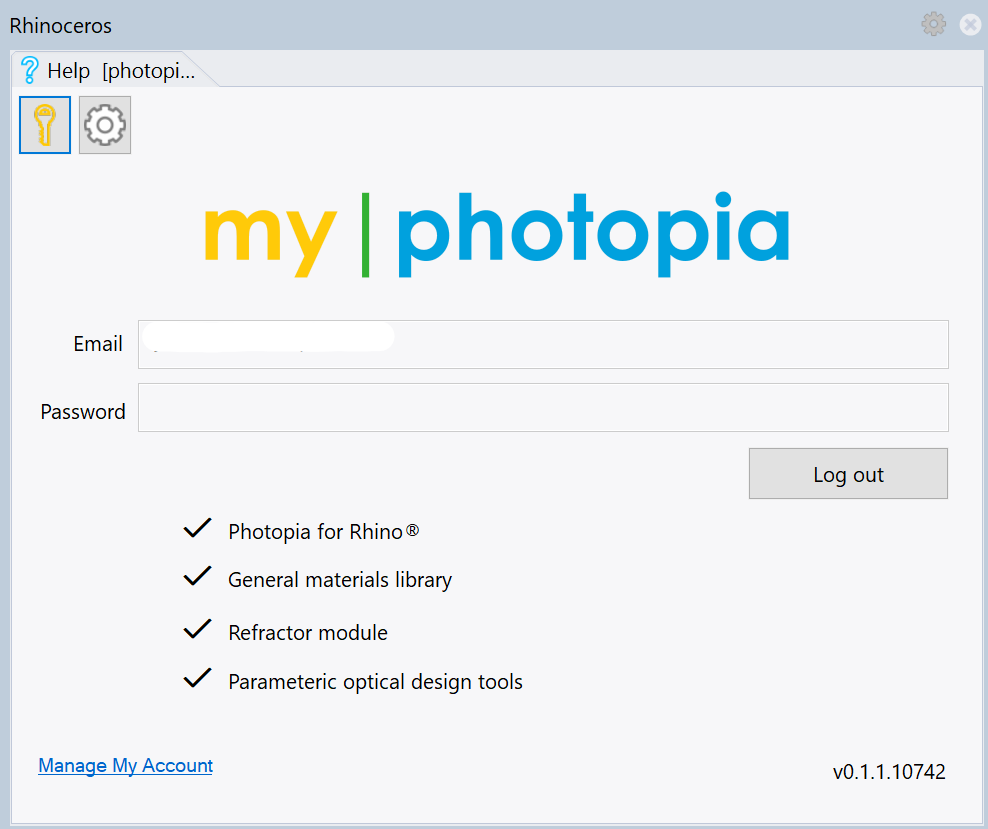
From the menu choose Photopia > Licensing.
Sign in using your ![]() account credentials.
account credentials.
Tip : License Status
If a license is available, you'll get a ✓.
If a license is not available, you'll get a ✘.
You can check the license status by clicking "Manage My Account".
5. Add the Photopia Toolbar
Rhino 8
Select Window > Toolbars from the Rhino menu.
Click on the Libraries drop down and select Photopia, then select our toolbar to add it.
You can dock this on any side of Rhino’s interface.

Rhino 6 & 7
Select Photopia > Open Photopia toolbar from the Rhino menu.
You can dock this on any side of Rhino’s interface.
Tip : Rhino Interface Customization
You can place the Photopia Toolbar in any location. You can also move individual icons around.
NOTE: When we update the toolbar you will need to re-customize your layout.
6. Add the Photopia Panels
Rhino 8
Most of your work with Photopia will take place in our Photopia Panels.
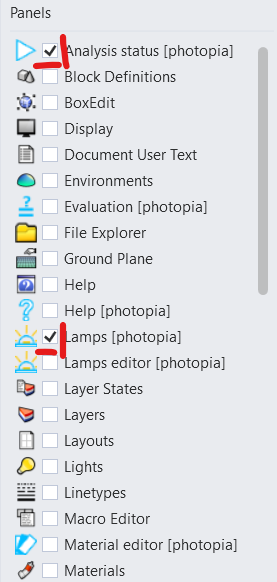
In any open panel's upper right hand corner, click on the gear icon and select "Show Panels".
Then select all of the "... [photopia]" options to open all of the Photopia support-rhino-panel-select.
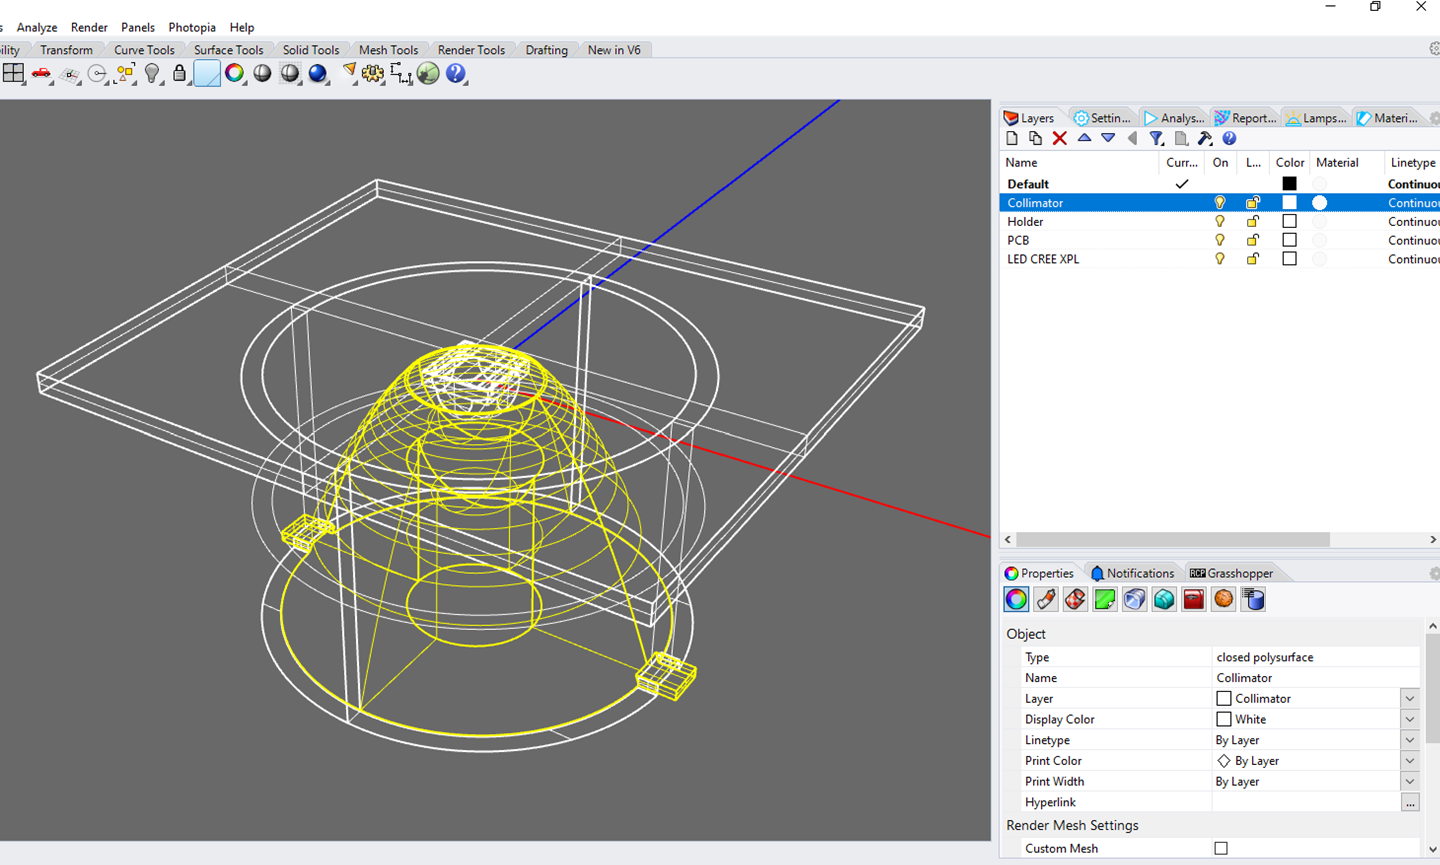
Then you can dock this above the screen containing the “Properties” and “Notifications” panels, like shown in the following image.
Rhino 6 & 7
Most of your work with Photopia will take place in our Photopia Panels.
Select Photopia > Open all Photopia panels from the Rhino menu.
This will open a floating screen containing all the Photopia panels.
We suggest first dragging the “Layers” panel into the floating panel containing all of Photopia’s panels.

Then you can dock this above the screen containing the “Properties” and “Notifications” panels, like shown in the following image.
Tip : Missing Panels
If you accidentally close or move a panel, you can always go back to Photopia > Open all Photopia panels to get the panels back.
Next Steps
Now that your Photopia for Rhino interface is setup, we suggest the following two beginner tutorials.