Beginner Tutorial: Import a Photopia Project
This tutorial will show how to import a current Photopia .ray file into Rhino.
Skill Level
Beginner
Downloads
1. Create a new Rhino file
Start Rhino and choose File > New ... from the main menu.
Go to Tools > Options ... Units and ensure the project is in mm since the Photopia project is in mm.
Go to File > Save and give your project a name.
Tip : Setup Rhino First
If you haven't yet installed, setup or licensed Photopia for Rhino, follow the Rhino Setup tutorial first and then come back to this tutorial.
Install, Setup and Licensing Tutorial2. Import the Photopia Project
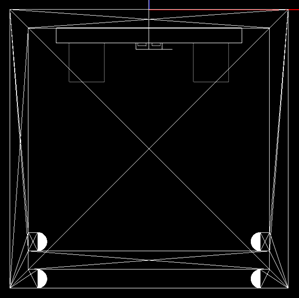
Go to the Photopia menu and select Import Photopia Project.
Browse to find the Linear_3030.ray sample file for this tutorial, which you can download above.
Do a View > Zoom > Zoom Extents to see the data imported from the .ray file.
Tip : Units
The import will convert your Photopia project into the same units as the Rhino model, so if your Photopia project was in feet/inches, but you'd like to use mm in Rhino, set Rhino to mm and your imported project will be converted to mm.
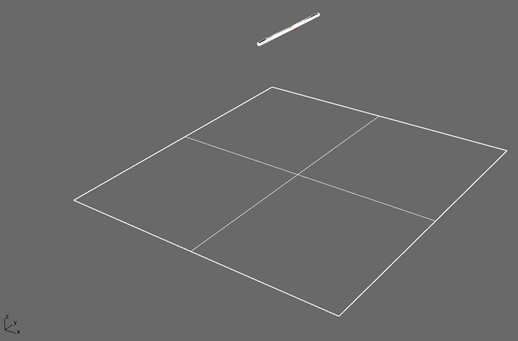
3. Run the Raytrace
Click Start Raytrace in the Photopia Toolbar or menu
The Analysis Status Panel will automatically open so you can follow the raytrace progress.
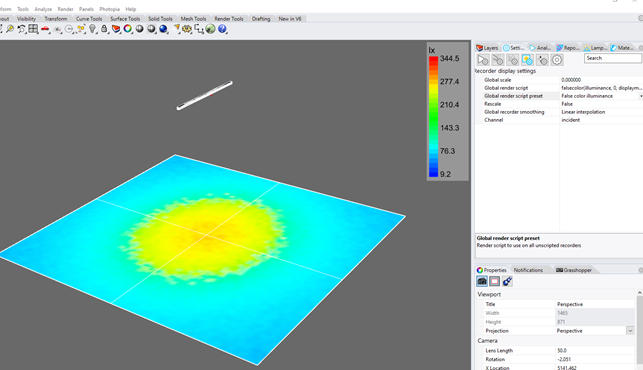
4. View the Results
Click View Results in the Photopia Toolbar or menu
The Reports Panel has buttons for viewing a few simple reports.
Click Show/Hide recording surfaces in the Photopia Toolbar to view the illuminacne plane in the CAD model.

Tip : In Rhino and External Reports
The Reports Panel has buttons for viewing the following:
- Raytrace report
- Intensity plot
- Recording plane report
- Intensity table
- Indoor summary
- Outdoor summary
- Export IES/LDT file
- View results in Photopia Reports
You can view other report types in Photopia Reports, including our full photometric reports, standard reports and additional plot styles.
5. Switch to a False Color Recorder Display
Click Recorder display settings in the Photopia Toolbar or menu.
For the Global render script preset select False color illuminance from the dropdown.
The recording plane will now be displayed as a false color plot.
Tip : Rhino Interface Customization
You can place the Photopia Toolbar in any location. You can also move individual icons around.
NOTE: When we update the toolbar you will need to re-customize your layout.